3D Builder is a pretty awesome tool, it is free for Windows users and can be used via touch or traditional mouse. It also has a object correction tool tied in to Azure backend to make sure your model is printable. All the steps below are illustrated in the 4th segment of the 3D Builder User Manual so I won't repeat it here.
Final Product (steps below):


Here is an time lapsed video for the initial stage of the prints (2 more closer look videos at the end of page):
The awesome Python logo file was downloaded from Thingiverse here, by Brian J. Geiger.
Here are the simple steps:
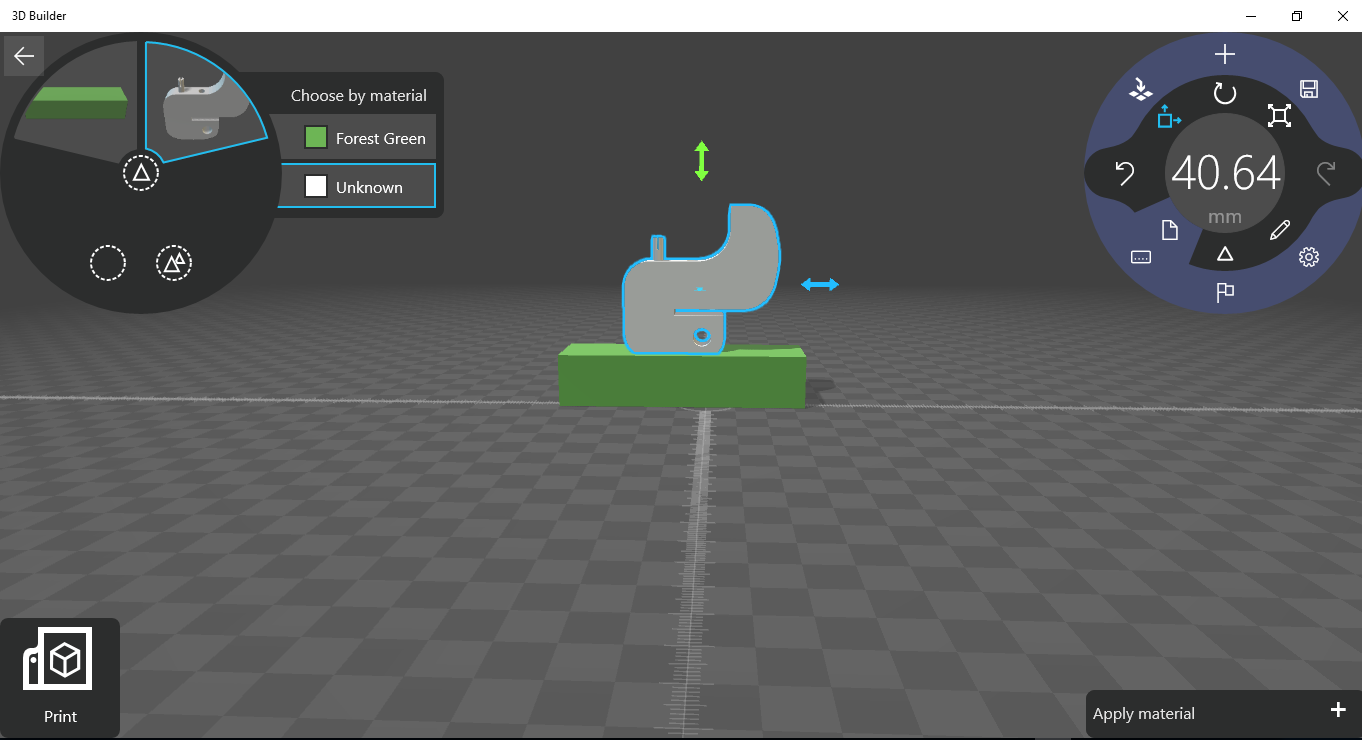
1. Import the base and stretch it:

2. Add Python logo and rotate it 90 degrees:
3. Merge the two objects (notice on the top left corner it is now just 1 object):

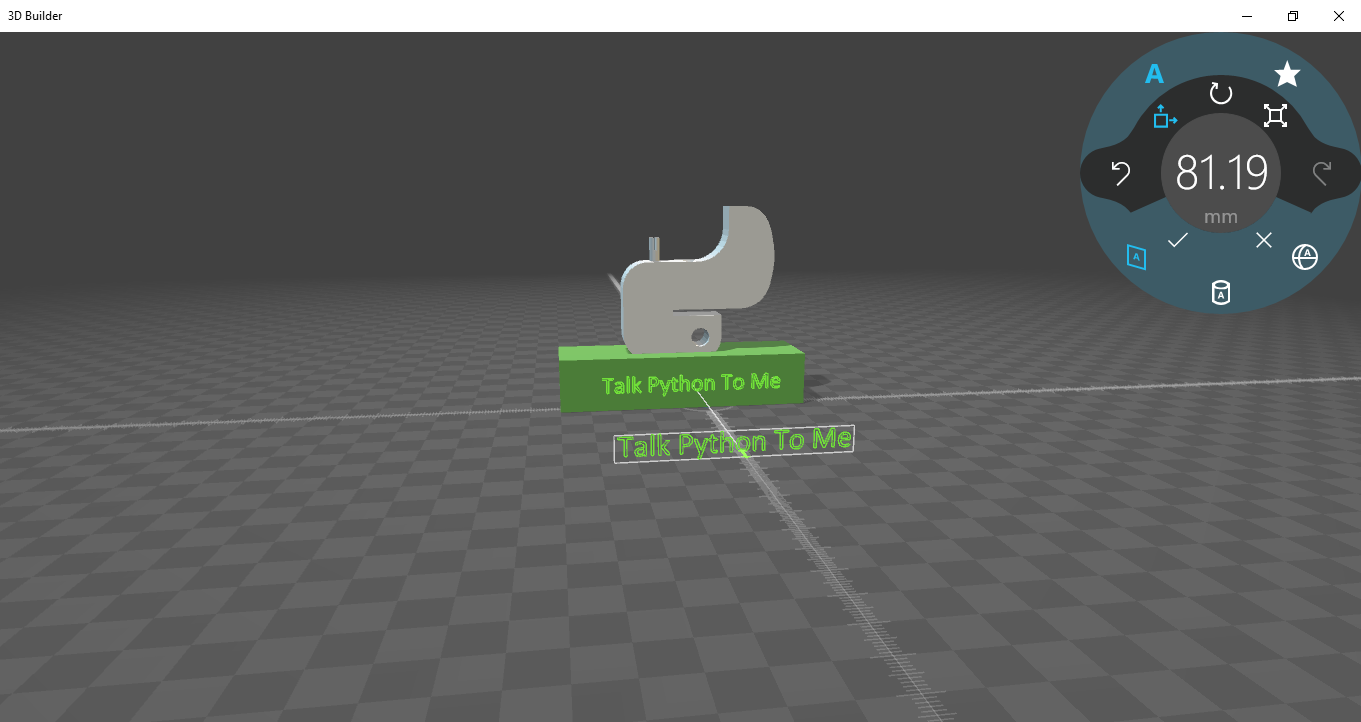
4. Add embroilment:
5. Here is a pretty cool part for Windows, if your 3D printer is one of the supported ones (like my PrintrBot Simple), you can just File -> Print like a regular 2D printer.
3D Builder is a very cool entry level 3D building program that is easier to learn and use than some of the other CAD programs. Best of all, it is free with Windows 8.1 and 10!
6. Because the time lapsed videos are so cool, I took two more while making another model:
Happy Making!
Very nice post and thanks for it .I like this blog and really good content.
ReplyDeleteInformatica Training in Chennai
Best Informatica Training in Chennai
German Courses in Chennai
Japanese Language Course in Chennai
IELTS Training in Chennai
Spoken English in Chennai
content writing course in chennai
Informatica Training in Velachery
Informatica Training in Anna Nagar